
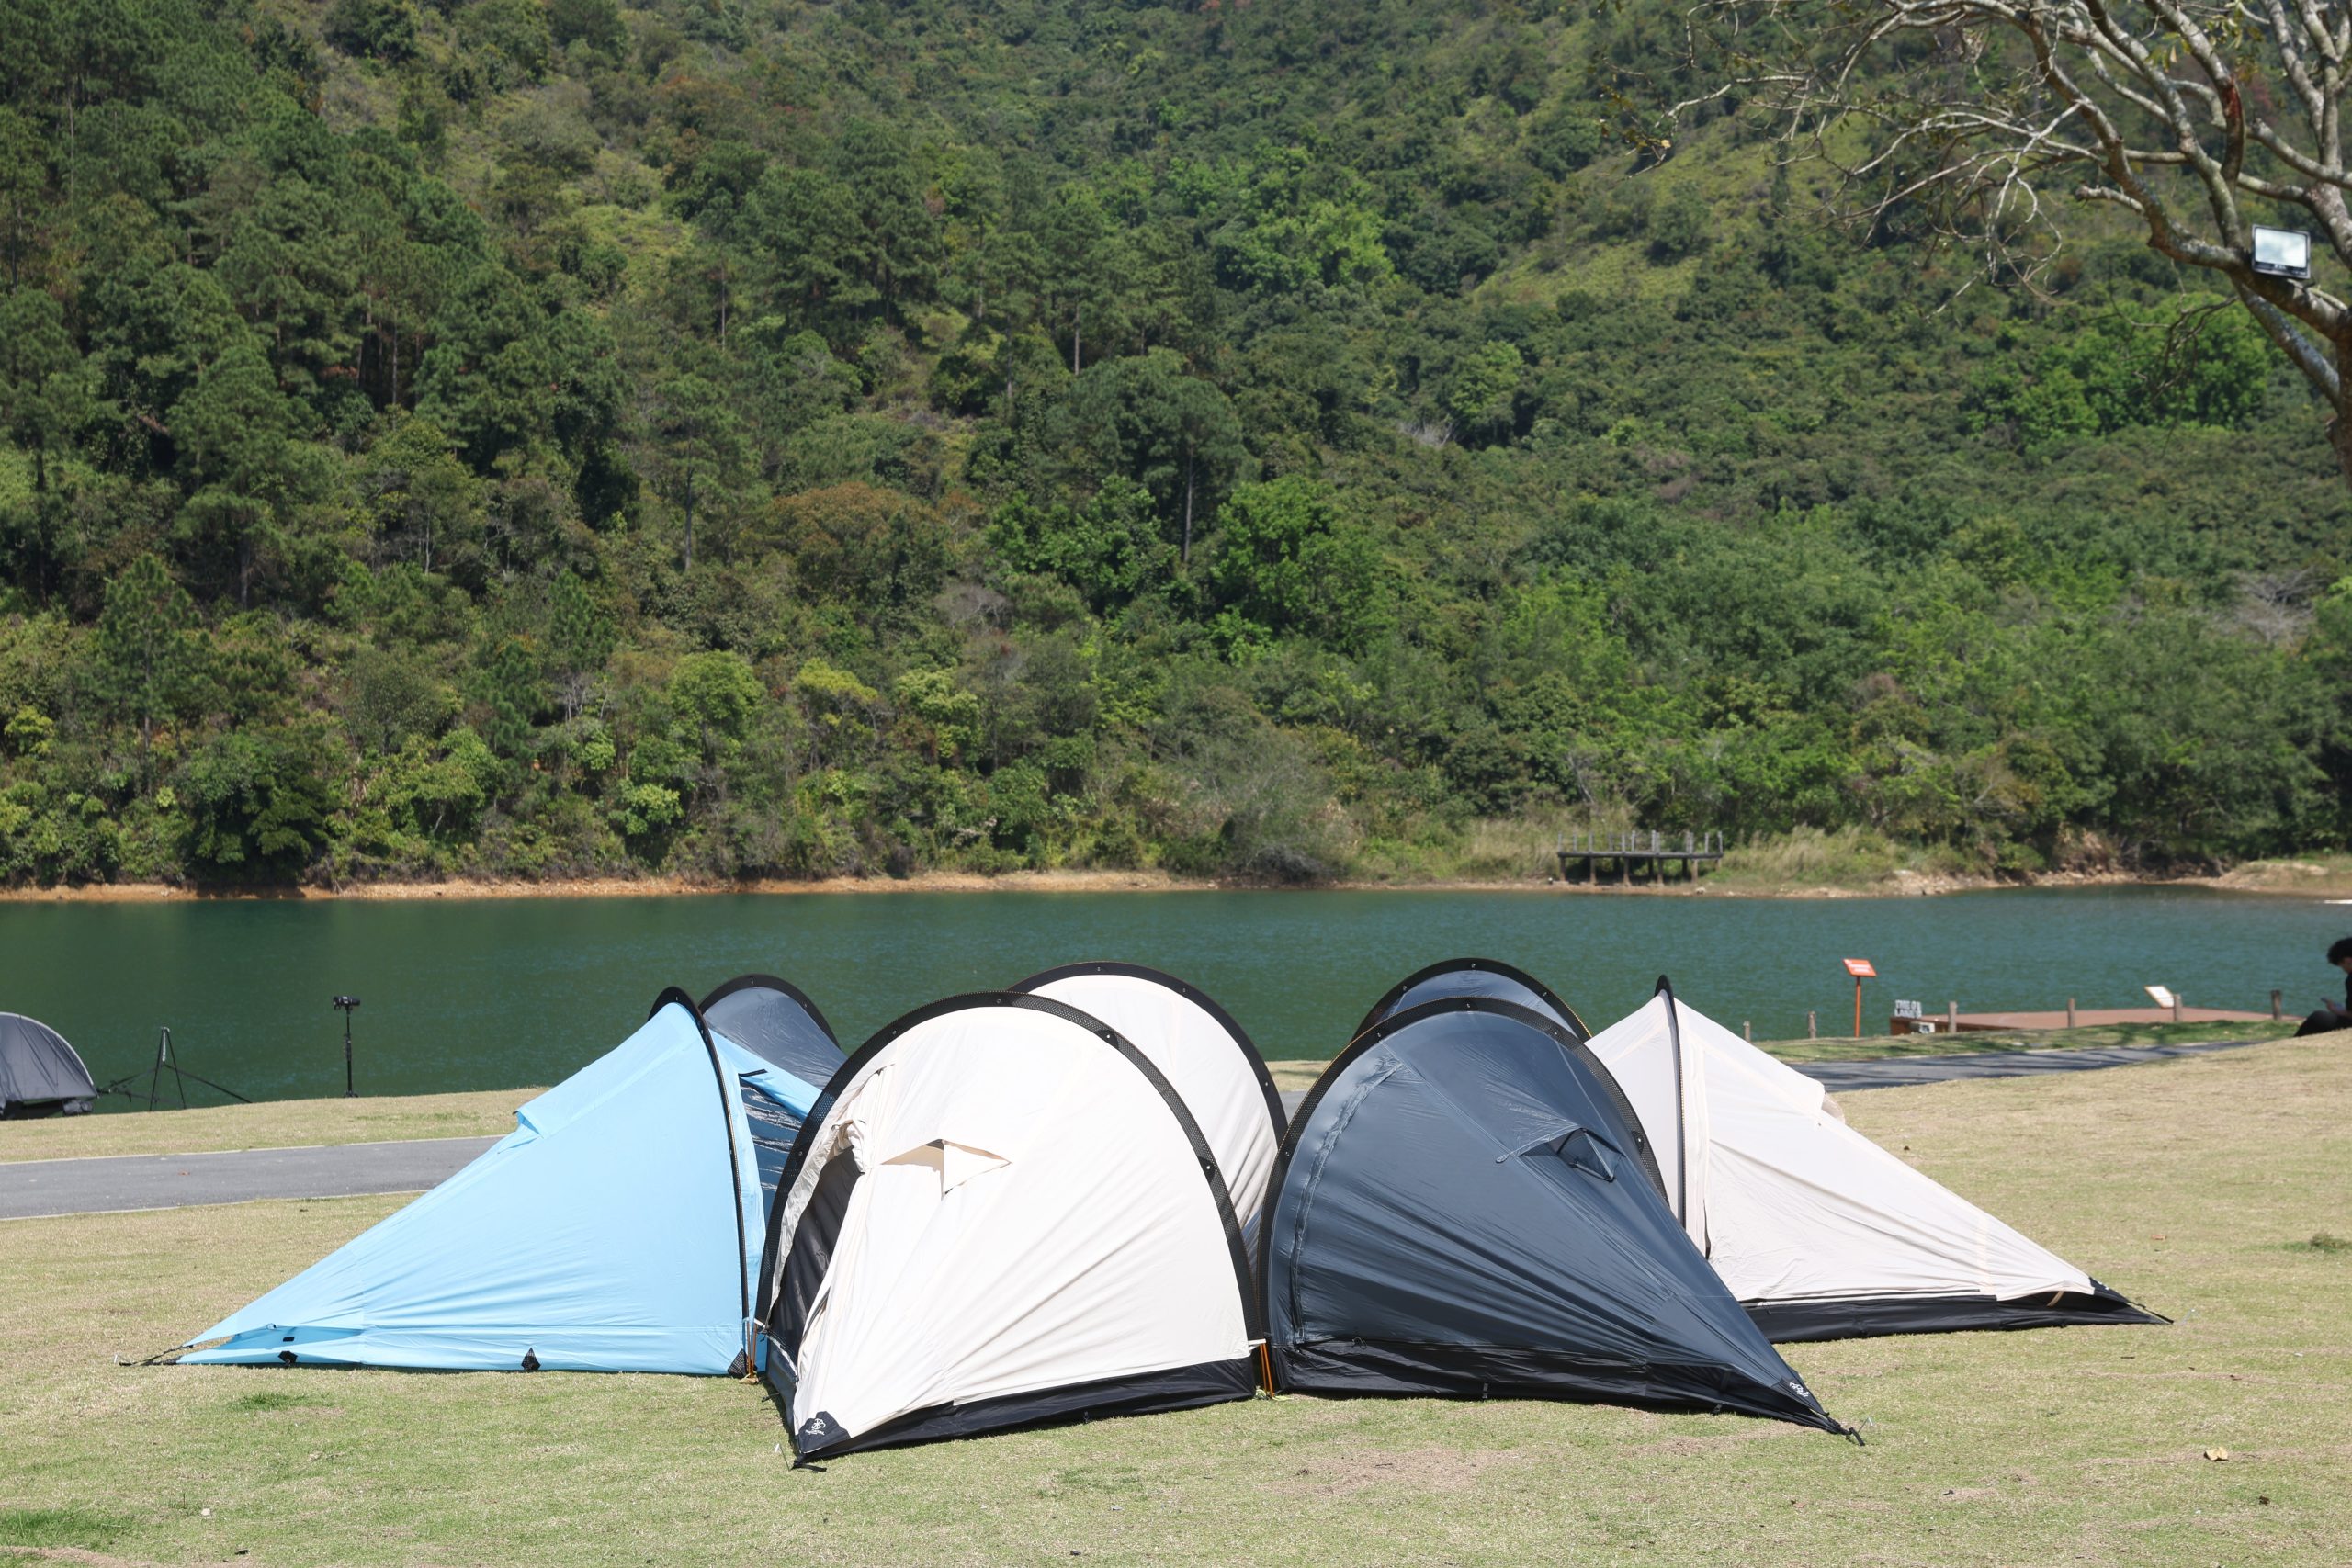
Problem overview: why car-tent setups fail when treated like casual camping
Too many vehicle-based camps start with convenience and end with avoidable hazards: flooding, collapse, wildlife breaches, or being too close to road traffic. Treat this as a threat-model exercise. Identify what can go wrong, prioritize the highest-impact risks, and choose controls that reduce exposure without adding complexity. A properly chosen camping tent bundle can be a primary control — it reduces setup time, provides integrated anchors, and narrows the attack surface you need to manage.

Threat modeling: what you must protect against
List concrete threats and their likely vectors: sudden wind gusts that overturn rooftop or car-side tents; runoff that floods low-lying sites; proximity to roads that invites noise and struck-vehicle risk; and unsecured food that attracts wildlife. Assign each threat a severity and likelihood. Focus first on mitigations that block multiple high-severity threats — for example, elevation plus wind anchoring reduces both flood and wind exposure.
Site selection checklist — technical controls to verify before you stop
Confirm slope: pick >0.5m of elevation above any visible drainage line. Verify substrate: compact gravel or firm soil holds stakes better than loose sand. Measure wind corridor: avoid ridge edges and narrow mountain passes where gusts accelerate. Check spacing: stay at least 10m from vehicle traffic and 30m from active fire pits. Ensure escape vector: keep a clear, obstacle-free path on the lee side of your vehicle for rapid departure. These are simple, measurable rules that reduce cascading failures.
Anchoring and setup — mechanical best practices
Use redundant anchors. Combine stake points with guy lines and vehicle tie-offs. For soft ground, deploy load-distributing devices (e.g., sand/snow anchors) to prevent pull-through. Tension guy lines to a 20–30 degree downward angle for optimal load distribution. Inspect all connections after 10–15 minutes and again after 1 hour; micro-adjustments matter. Where possible, use hardware rated above expected force to maintain a safety margin.

Weather management: detect, validate, respond
Monitor local forecasts but validate with on-site indicators: cloud density, wind direction shifts, and barometric drops. Treat single-source forecasts as intelligence, not truth. If signs escalate, shift from persistence to fail-safe: reduce tent exposure, reposition vehicle leeward, or relocate to higher ground. Document a clear abort criterion — e.g., sustained gusts above 40 km/h or visible runoff — and act without debate.
Real-world anchor: compact tents used on long trails
Field teams on sections of the Appalachian Trail routinely favor lightweight shelters that pack compactly and stake reliably; those operational constraints mirror vehicle-camp needs. A tested option for minimal footprint and reliable anchoring in mixed terrain is the compact hiking tent, which demonstrates how small size plus robust hardware improves both mobility and resilience in constrained sites.
Common mistakes and their fixes
Assuming flat equals safe: even slight depressions collect water. Fix: probe and reroute drainage. Over-reliance on single anchor points: one failure leads to full collapse. Fix: add redundancy and inspect connections. Ignoring human factors: poor sleep due to noise increases decision error. Fix: position sleeping area away from road lines and run simple noise-reduction steps like window shades and earplugs.
Alternatives evaluated briefly
Roof-top tents offer speed but raise center-of-gravity issues in high winds. Ground car-side annexes lower wind profile but demand better ground anchoring. Freestanding pop-ups trade anchoring needs for rapid deployment but expose more fabric area to gusts. Choose the option whose failure modes you can control with the time and tools you have on-site.
Synthesis and practical posture
Start by modeling the worst plausible failures, pick site controls that neutralize the highest risks, then validate anchors and escape paths before you settle. A concise kit reduces decision friction and improves resilience; for a consistent, rugged baseline consider gear choices that align with that posture, such as those curated by THECATAL, which favors durable anchors, clear setup logic, and minimal exposure so you manage fewer failure points and sleep with confidence.