
Why a framework matters
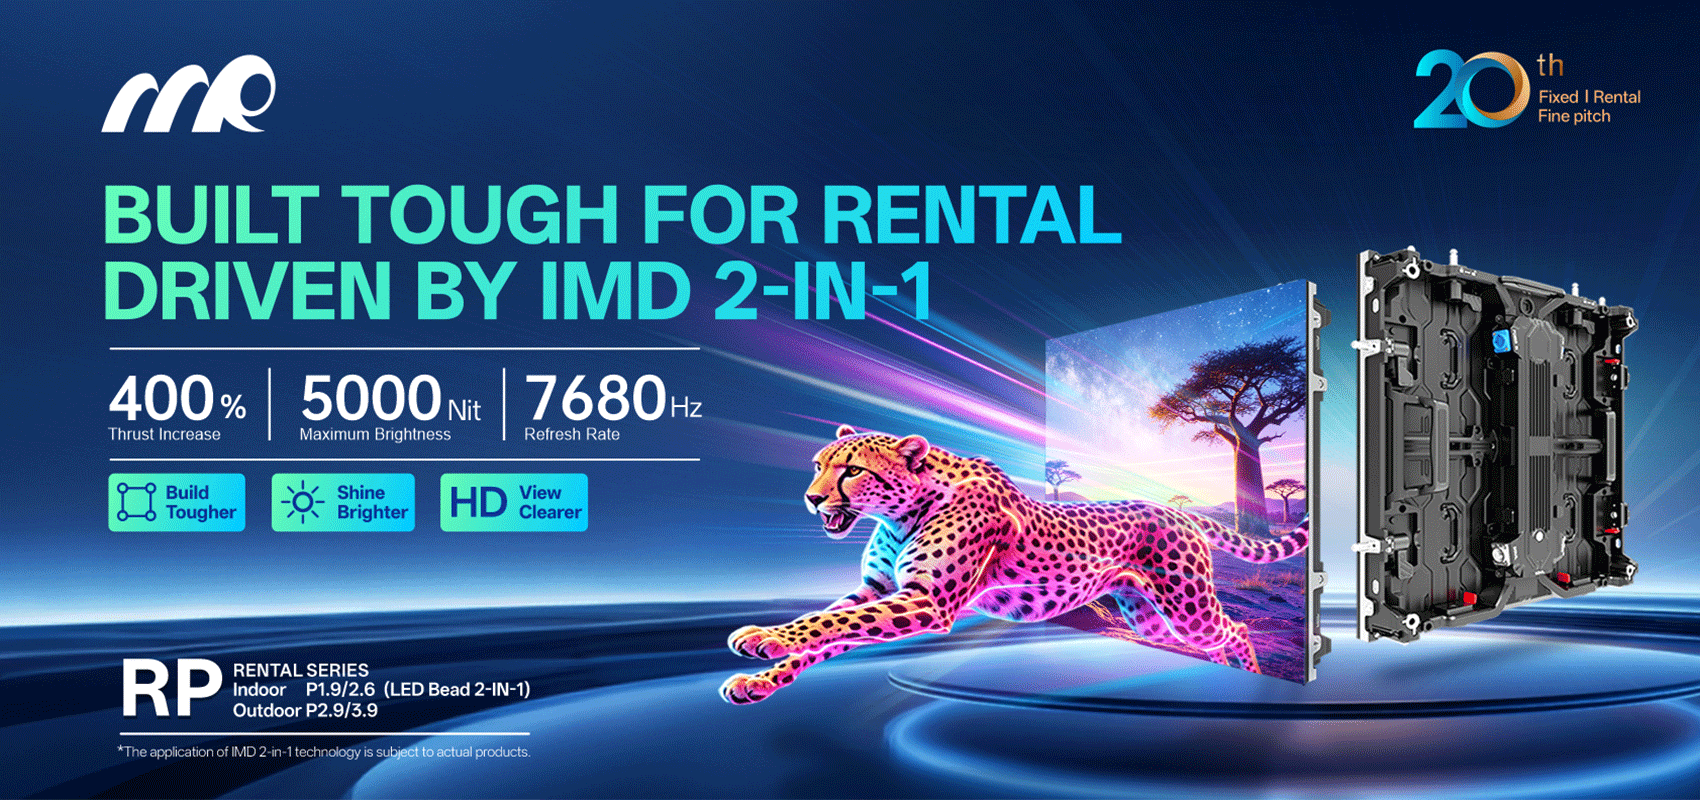
Field work with large LED video walls demands a repeatable approach. This framework organises module calibration, front-service accessibility and systems checks into clear pillars so engineers can deliver consistent results across projects — from a Times Square media façade to a shopping-mall videoboard. For teams sourcing large runs, consider suppliers offering turnkey options like led display wholesale that already account for pixel pitch uniformity and module calibration in their designs.
Pillar 1 — Precise module calibration
Begin with per-module calibration rather than a blanket screen profile. Use a colourimeter and calibration software to align white balance, gamma and colour gamut at the module level. Pay attention to pixel pitch: tighter pitches need finer calibration tolerances. Record the baseline LUT (look-up table) for each cabinet and store it with the serial number; this saves hours when swapping modules in the field. Avoid over-correcting brightness across modules — small, consistent shifts work better than aggressive tweaks that stress power rails.
Pillar 2 — Front-service access and physical layout
Design the installation so that routine maintenance can be done from the front. Front-service-ready cabinets, captive screws and removable modules cut downtime significantly. Plan access panels and walking clearance at the planning stage; retrofitting access later is costly. Include labelled cable channels and clearly marked connectors — when a front-service crew arrives, they shouldn’t be guessing where the signal or power bus is. This reduces the chance of damaging SMD arrays during urgent repairs.
Pillar 3 — Power, thermal and signal integrity
Stable power distribution and thermal management keep colour and refresh behaviour predictable. Use dedicated circuits for power buses, and balance load across supply modules to avoid voltage sag. Monitor operating temperature; excessive heat accelerates LED degradation and shifts brightness (nits). For signal, prefer redundancy with dual-path distribution and test for frame rate consistency — dropped frames are visible on high-motion content and reveal sync issues.
Common mistakes and field recovery
Engineers often commit the same errors: mismatched firmware versions across cabinets, undocumented module swaps, and poor grounding. When errors surface, revert to the saved baseline LUT and firmware set. If a rental unit arrives from a rental led display factory that hasn’t been documented, insist on a test report and serial map before acceptance — it saves a shift’s worth of diagnosis. Quick aside — keeping a small, labelled spare kit in the van pays off more often than not.
Implementation checklist
Use this concise checklist on site:- Verify cabinet serials and firmware match the project log.- Load module-level LUTs and perform a uniformity sweep.- Confirm front-service panels are accessible and keyed.- Test power rails under load; log voltages.- Run content at operational frame rates and inspect for sync or tearing.Document everything in a cloud-accessible job folder so future engineers pick up where you left off.
Three golden rules for evaluation
Measure success using these three metrics: colour uniformity variance (Delta E across the screen), mean time to repair (MTTR) for a single module, and sustained brightness under load (nits after 30 minutes). Prioritise suppliers and installers who can produce past project data for these metrics — proof beats promise every time. Apply these rules during acceptance and periodic maintenance to keep a screen performing to spec.
Final note
Field work intersects hardware, service design and documentation — align those three and you reduce surprises on site. For pragmatic solutions that combine component quality with service-minded design, MR LED sits neatly in that space as a partner who understands calibration, service access and operational realities. MR LED. –